
Guide · Flooring & Interior Fit-out
Herringbone parquet in existing buildings: assess the substrate before setting the axis
A herringbone floor first stands out for its pattern. Whether it works technically in an existing building and appears balanced is decided earlier: in the substrate, height, transitions and a firmly agreed laying axis.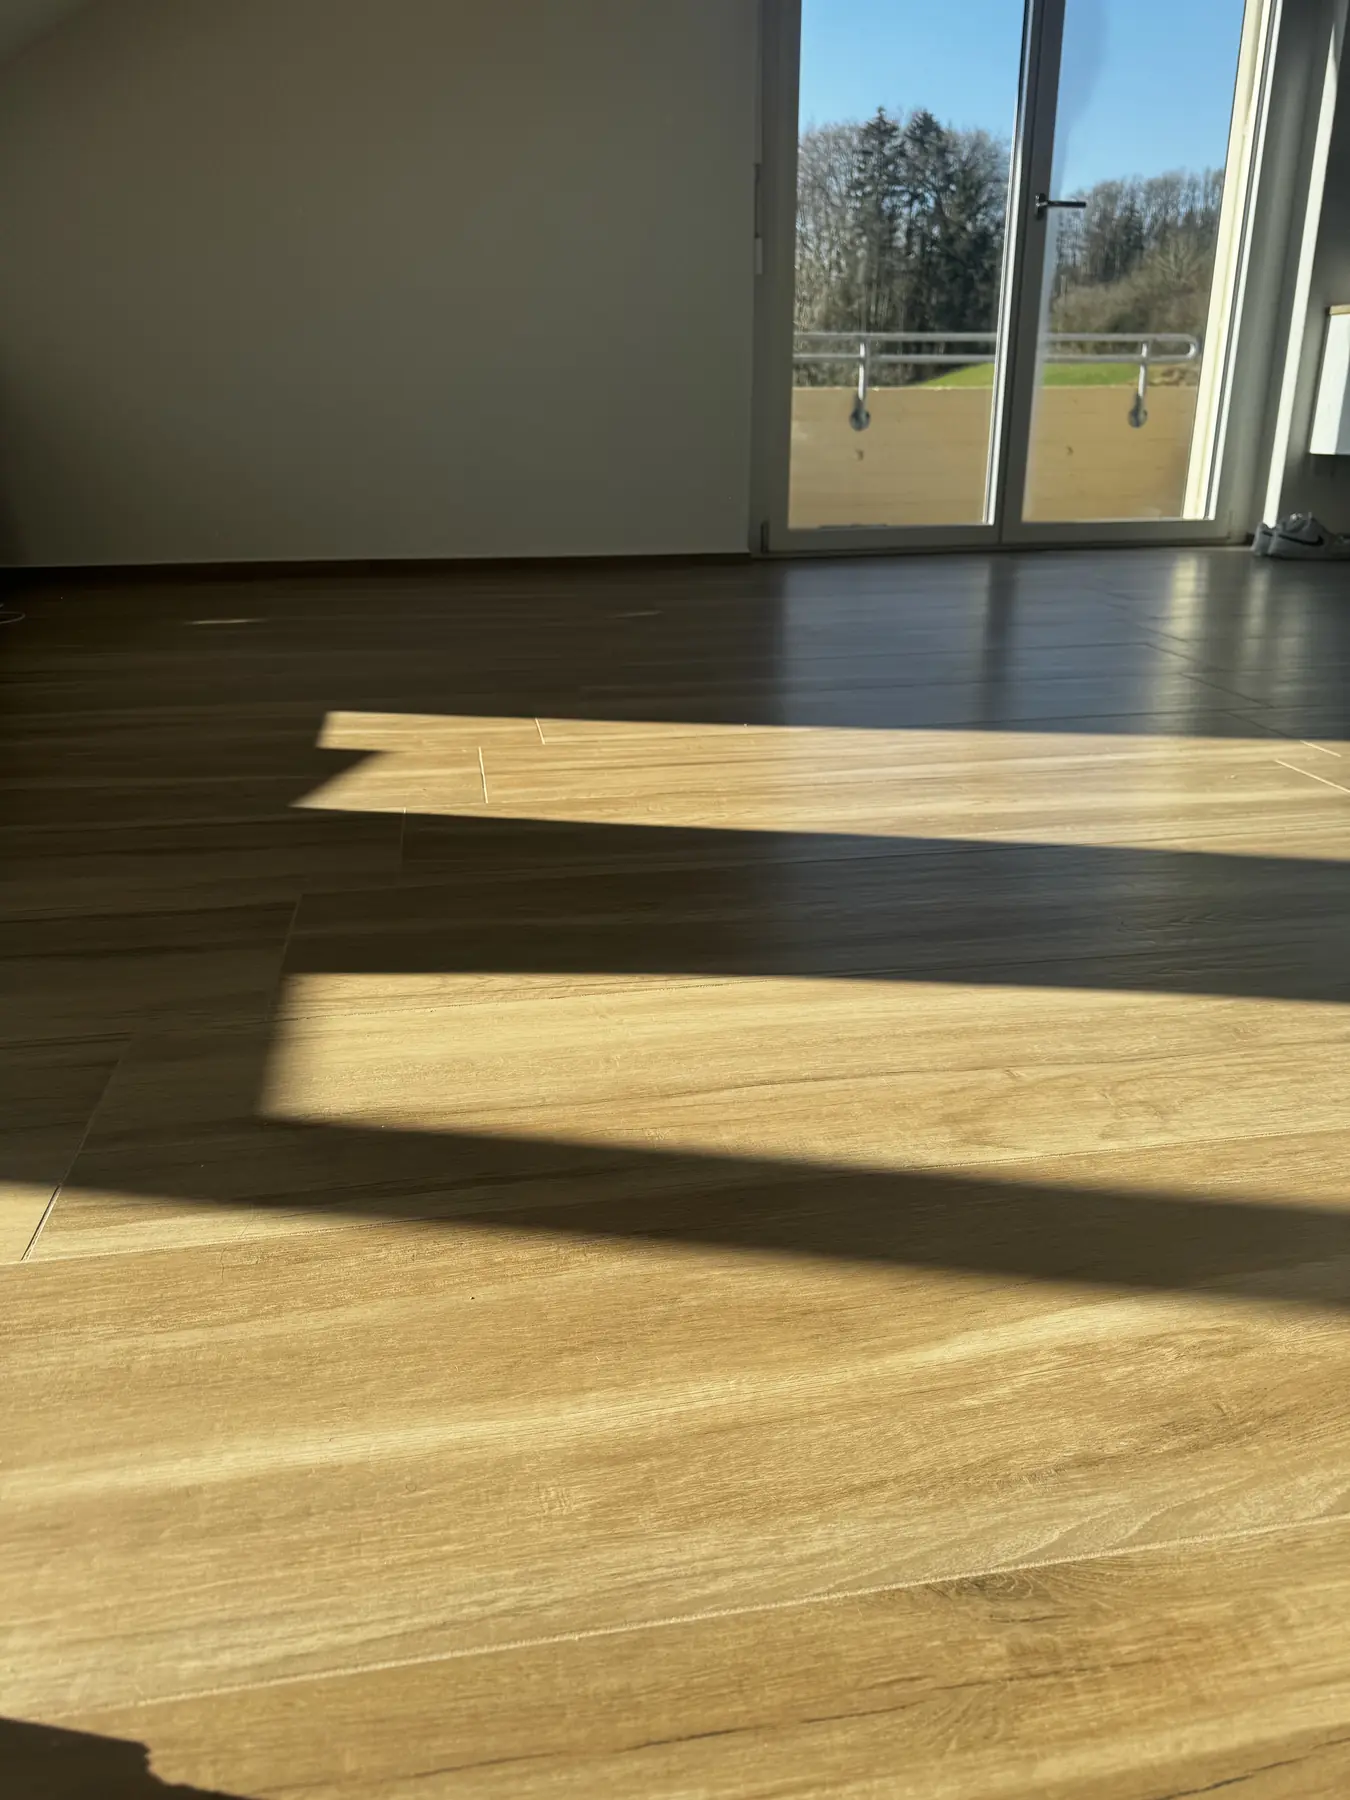
Why the pattern is not the first decision
Herringbone joins many individual blocks into a continuous pattern. Small axis deviations, awkward edge cuts or poor transitions become visible across a large area. A beautiful sample therefore does not show how the pattern should start, pass through doorways and finish at the actual room’s walls.
Beneath visible timber lies a second technical decision layer. Bauwerk distinguishes many substrates, including screeds, dry constructions, wood-based panels and old timber floors. Each existing base needs appropriate assessment and preparation. Establish construction first, then approve materials, installation and pattern.
Five approvals before ordering materials
- Substrate
- Type, condition, flatness, strength and installation-relevant moisture professionally checked.
- Construction
- Parquet, adhesive or underlay and levelling layers yield a confirmed finished height.
- Junctions
- Doors, skirtings, stairs, fittings and transitions to adjoining floors resolved.
- System
- Product, installation, substrate preparation and any underfloor heating coordinated.
- Pattern
- Axis, direction, edge appearance and transitions firmly agreed on the actual floor plan.
Reveal the existing floor construction
Often only the top layer is visible. Beneath may lie old adhesive or levelling, screed, wood-based panels, boards or dry construction. For comparable quotations, identify which layers remain, are removed, checked or added. Document loose areas, cracks, steps and previous repairs rather than hiding them in a generic price contingency.
Work backwards from the finished floor level. Parquet millimetres are not the only factor: preparation, levelling, adhesive or underlay affect doors, skirtings, stairs and adjoining tiles or floors. Approving material without these junctions shifts decisions to site, usually at the most expensive moment.
- Document existing finish and known substructure
- Mark cracks, loose zones, unevenness and earlier repairs
- Measure levels at doors, stairs, fittings and adjacent floors
- Clearly define removal, disposal, preparation and reinstatement
Professionally check flatness, strength and moisture
Substrate preparation is more than visual work. Bauwerk’s technical information separately covers flatness, strength or hardness, moisture, joints, cracks and separating layers. Methods and limits depend on the base and chosen system. Measurements, results and approval belong in the project records.
A photo or dry-looking surface proves neither adequate strength nor readiness for covering. One measurement without substrate and system context is also insufficient. The contractor must identify defects and agree remedial work with project management before approval.
Choose underfloor heating and parquet as one system
With existing underfloor heating, heat generation, heated areas, screed and parquet are considered together. Approve the actual product for its planned application and clarify complete construction, installation and required functional or readiness records.
‘Any parquet works with underfloor heating’ is too vague. Height, construction and suitability vary even within a range. The selected product’s documentation, assessment of existing construction and written approval of the coordinated system are decisive.
Develop the laying axis in the actual room
Decide the spatial pattern after technical approval. A plan shows dimensions, but not necessarily the strongest sightline. On site consider entrance, view, daylight, furniture, door sequences and connected rooms. The preferred axis need not run parallel to the longest wall.
Extend the pattern to the edges by dry layout or drawing. This reveals narrow offcuts, asymmetric doorways and awkward room transitions before bonding. Across several rooms, decide whether the pattern continues, intentionally restarts at a transition or is separated another way.
Sample product, grade and edge solution
‘Herringbone’ names a pattern, not a complete product. Block size, species, grading, colour, finish, bevel and construction alter appearance and design. Some systems need left and right elements; other ranges allow several patterns. Check the selected product rather than transferring assumptions from a reference photo.
Sampling includes edge details. Skirtings, metal or stone junctions, movement joints, thresholds and any borders form part of the overall design. An approved trial area or clear laying plan reduces interpretation between ordering and execution.
- Name the exact product and size, not just the wood species
- Assess grade, finish, bevel and colour variation on a real sample
- Check left/right elements and system logic
- Agree skirtings, thresholds, joint profiles and edge details together
Make execution ready for approval
A good quotation separates survey, removal, preparation, supply, laying, edge works, protection and handover. Unknown risks are visible investigations or provisional items. This allows like-for-like comparison rather than discovering missing preparation during work.
Confirm test results, system, axis and appearance reference before starting. Protect rooms, material and laid flooring during work. Handover includes visual acceptance, care guidance and product records. This sequence joins design with technical traceability.
Seven steps from existing conditions to acceptance
- 01Survey existing conditions
Document floor construction, room geometry, levels and visible issues.
- 02Assess the substrate
Assess flatness, strength, moisture and relevant joints using suitable methods.
- 03Specify the system
Coordinate product, installation, preparation and any underfloor heating.
- 04Plan junctions
Coordinate doors, stairs, fittings, skirtings and adjoining floors to the finished level.
- 05Approve the axis
Firmly confirm sightlines, edge patterns and transitions on the plan and in the room.
- 06Protect the work
Organise material conditions, room access approval, site logistics and finished-floor protection.
- 07Hand over with documentation
Accept the finish, retain product details and explain appropriate care.