Guide · Bathroom refurbishment
Bathroom renovation: what must be established before a reliable quotation
A bathroom is small but technically dense. Plumbing, electrics, ventilation, waterproofing, tiling and fittings interact within a few square metres. Clarifying these interfaces before quoting produces a clearer scope and reduces surprises during execution.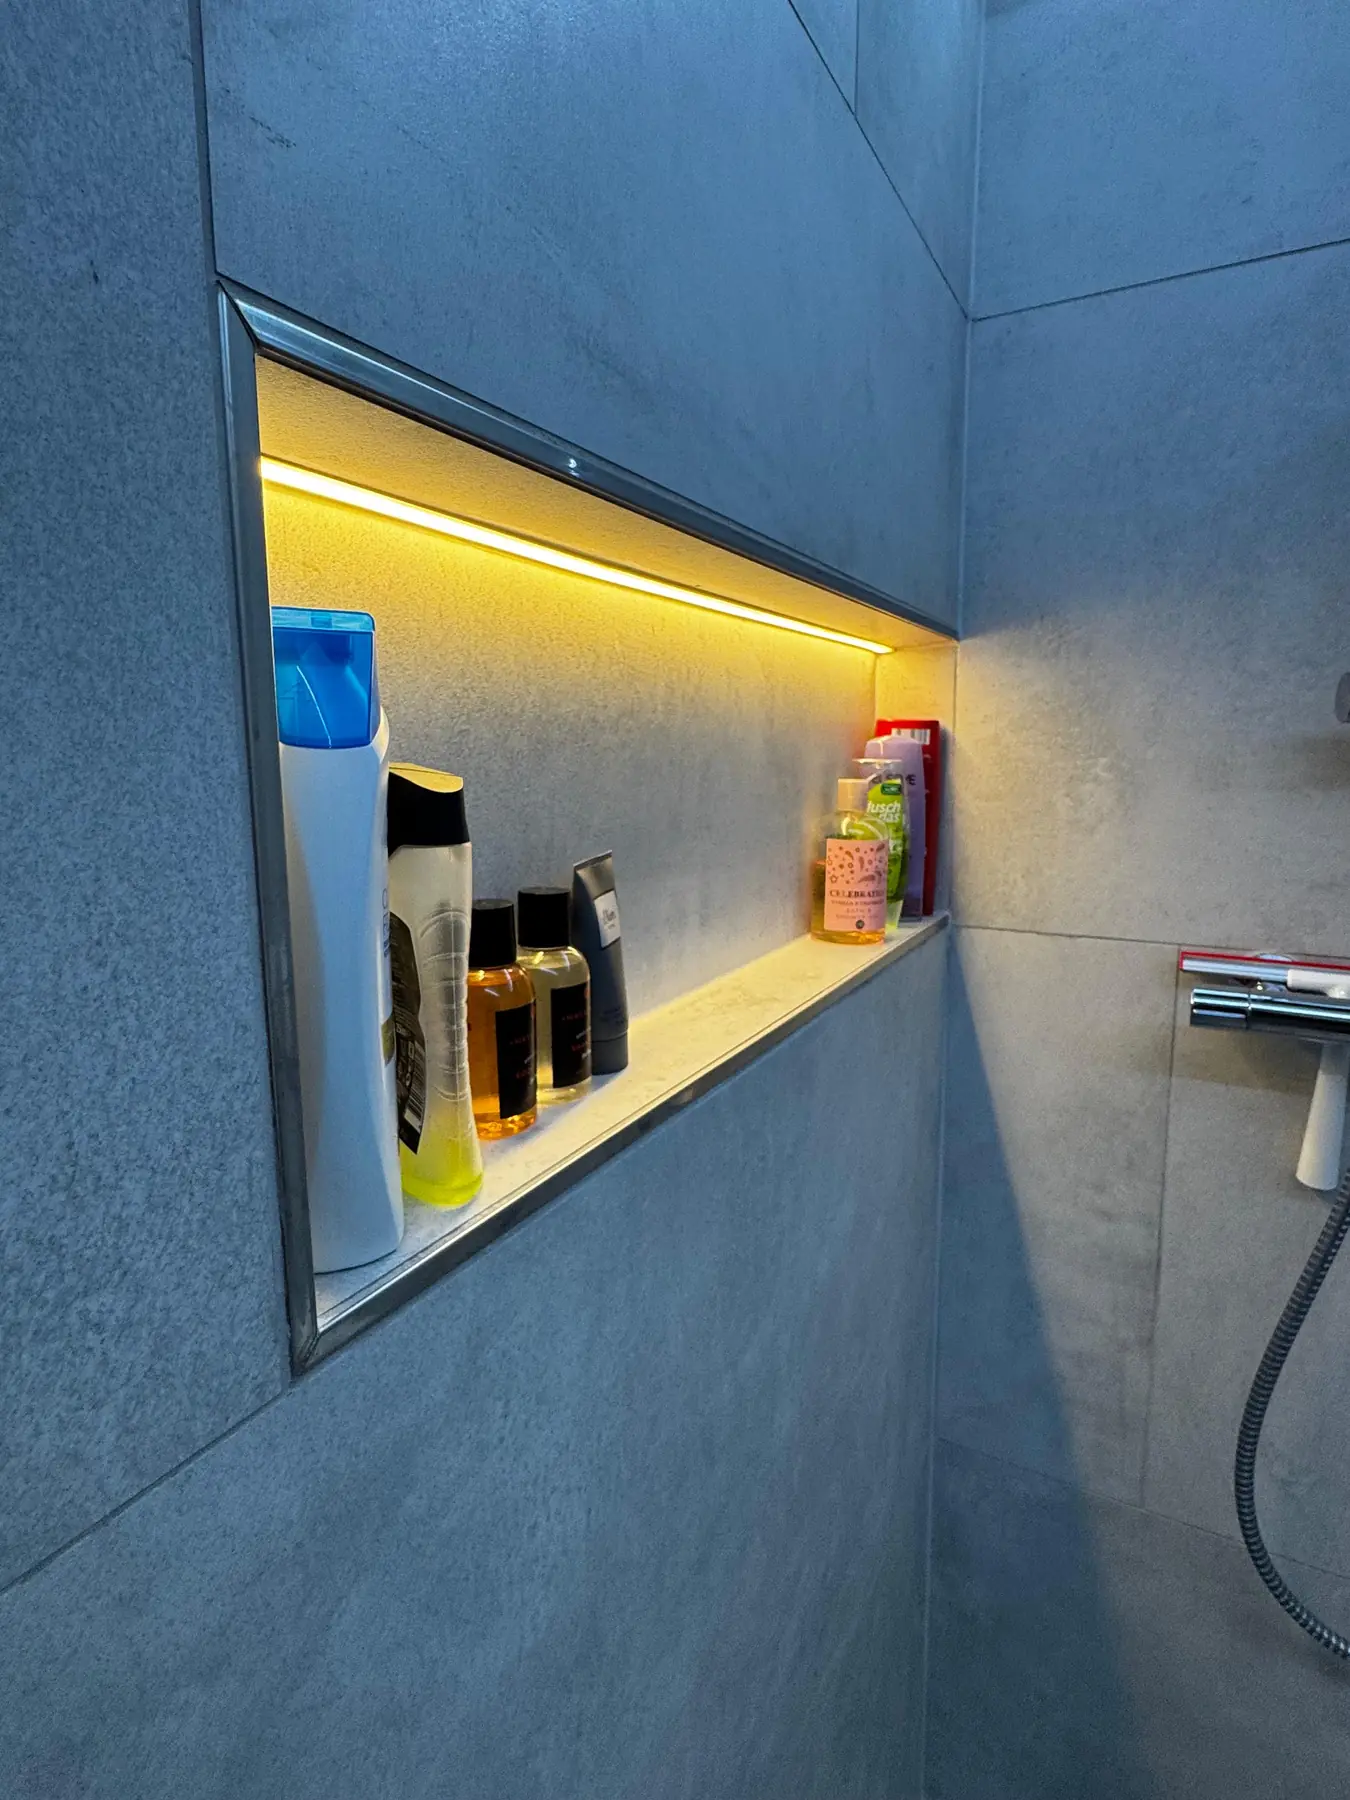
1. Define existing conditions and demolition scope
Before pricing, establish which components stay and which are removed. Sanitaryware, furniture and tiles are visible. Old pipes, unsuitable substrates, previous repairs or missing waterproofing may be hidden beneath. A survey is needed to rule these out responsibly.
A good scope separates planned demolition from possible additional findings. It records protection of neighbouring rooms, routes for removing materials and which hidden damage can only be assessed after opening up.
2. Establish layout and movement space
The position of shower, WC, basin and furniture determines daily use. Doors, drawers, glass screens and taps need operating space. An attractive view is not enough: check actual opening and use zones.
Moving connections also changes pipe routes, installation walls, falls and floor build-up. Before sampling, decide whether to retain the existing layout or reorganise it technically.
3. Check water and waste technically
Cold and hot water pipes must reach the new connection points. Waste-pipe diameter, falls and existing stacks determine which positions avoid disproportionate work. Level-access showers particularly need enough build-up height and coordinated drainage.
After pipe work, planned pressure and leak tests form part of execution. Access to relevant joints and shut-offs must be designed so later maintenance does not unnecessarily destroy finished surfaces.
4. Design waterproofing, falls and transitions as a system
In wet areas, substrate, waterproofing, connections, fall and finish work only as a coordinated build-up. A sealant alone cannot correct a poorly prepared surface or an unresolved drain, wall, niche or threshold detail.
Before tiling, define penetrations, sealing tapes, connection profiles and transitions. Sequence also matters: every later drilling or change can reopen an already checked build-up.
5. Coordinate electrics and lighting before closing up
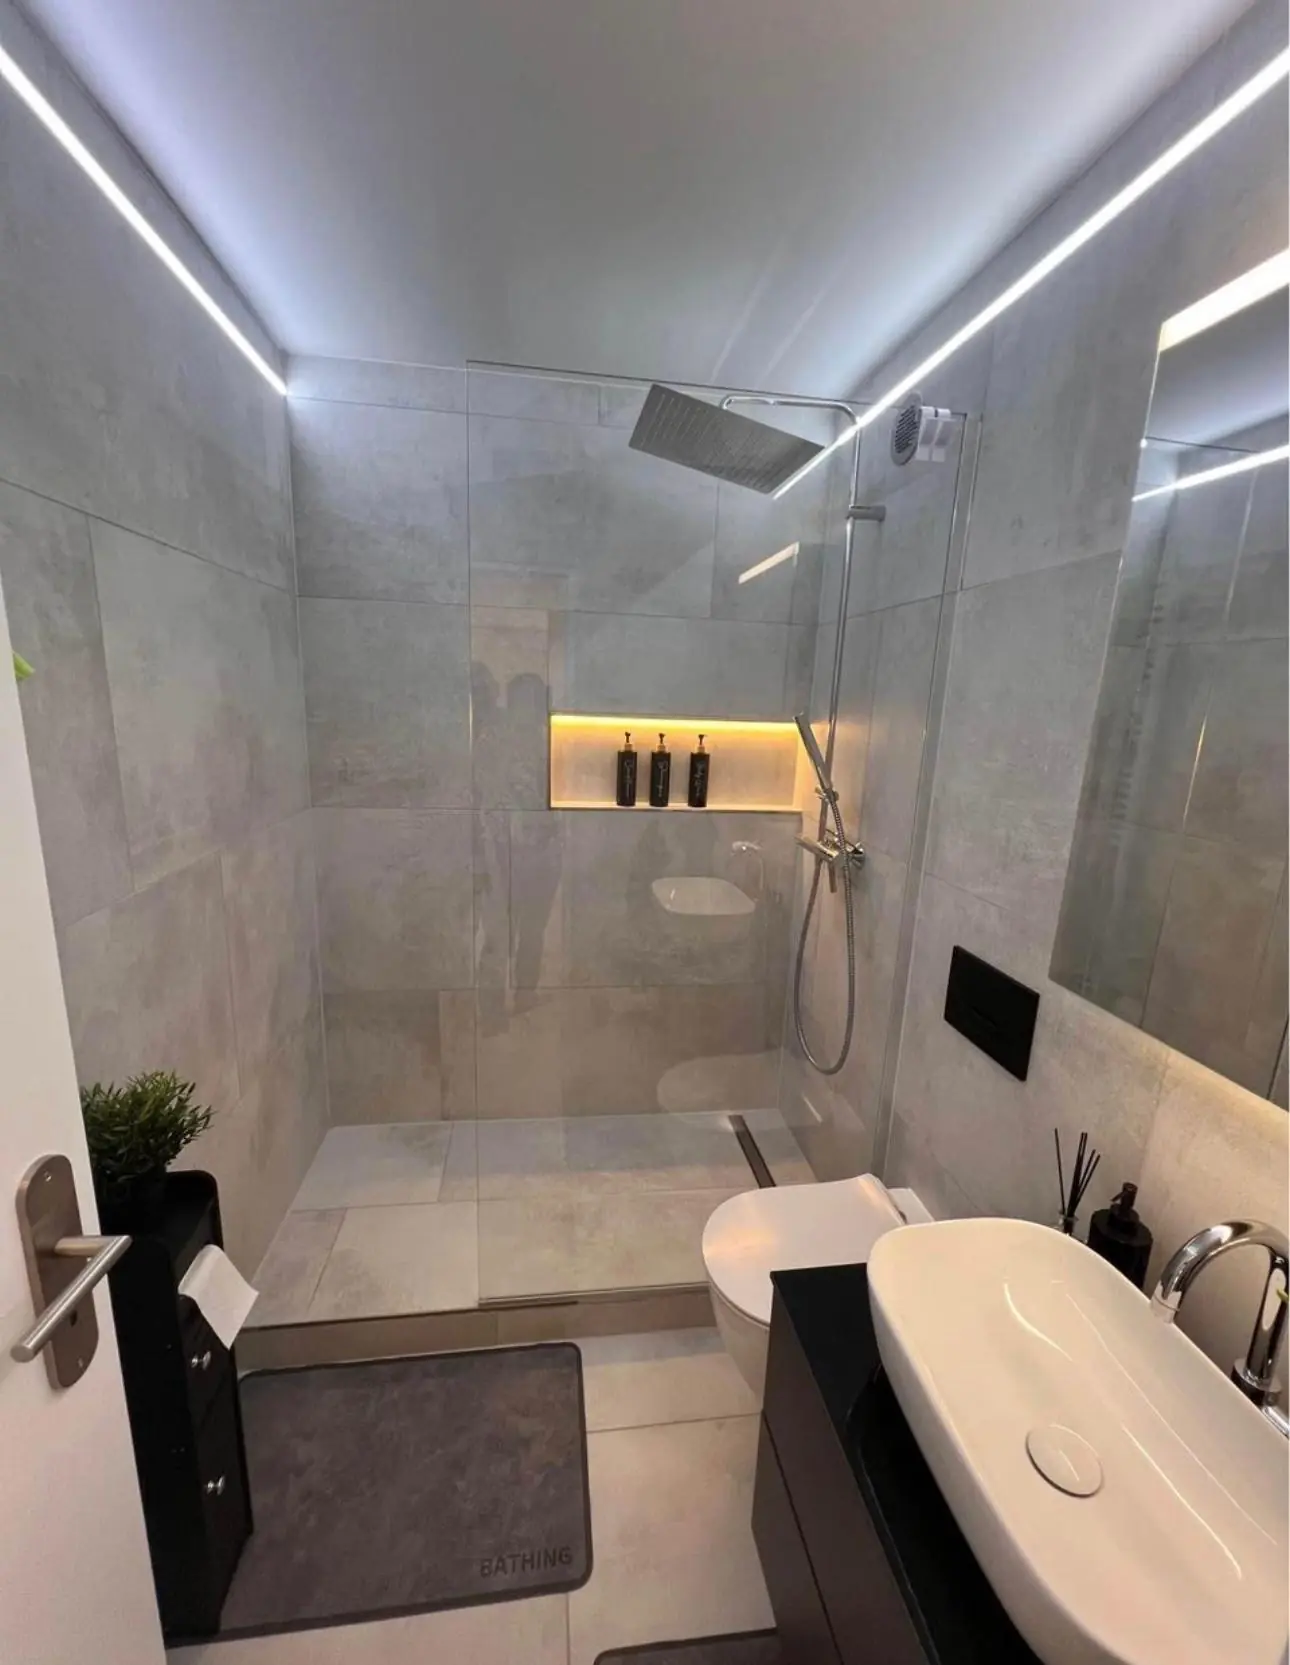
Mirror cabinets, sockets, lights, fans and electrical comfort features need defined connections. Protective zones, equipment selection and cable routes are assessed and installed by the responsible electrical specialist.
Niche and indirect lighting additionally need space for profiles, wiring and accessible control gear. Sample light colour and brightness with tiles, mirrors and finishes before final fitting.
6. Consider ventilation and moisture exposure
An internal bathroom depends on working ventilation. Check existing systems for airflow paths, replacement air and real operation as well as noise. Where windows exist, ventilation habits remain part of use.
Surfaces and furniture must suit the moisture load. Room temperature should allow surfaces to dry and comfortable use. Ventilation and heat therefore belong in the same project assessment.
7. Develop tile size and laying pattern from real measurements
Large tiles reduce joints but require precise substrates and a considered layout. Niches, edges, taps and drains affect joints. A laying plan therefore uses final site measurements and the tile actually selected.
Earlier 3D views can show design intent but do not replace a buildable laying plan. Cut-outs, tolerances and connections become reliable only with confirmed product and room dimensions.
8. Confirm fittings and delivery dates
Taps, ceramics, furniture, glass and radiators differ beyond appearance. Connections, installation dimensions, lead times and mounting systems directly affect walls, services and scheduling. A late product change can render first-fix installations unusable.
Sampling therefore includes technical approval. Record article numbers, finishes and accessories before ordering and continuing construction.
9. Plan acceptance and documents from the start
At completion, jointly check operation, surfaces, joints, drains, taps, furniture, lighting and ventilation. Assign outstanding items an owner and date. Handover then remains traceable rather than relying on separate verbal agreements.
A clear quotation reflects this logic before work starts, stating included services, boundaries, options and prerequisites. Offers can then be compared by content rather than final amount alone.
- Survey existing conditions and concealed risks
- Coordinate layout, services and floor build-up
- Approve waterproofing, electrical work and ventilation before fitting-out
- Record materials with article numbers and lead times
- Prepare the laying plan after final measurements
- Record inspections and acceptance in writing